Screen Capture Video Tutorials
Set Capture Area Size
Consider sizing your capture area to accommodate HD video sizes, which is the most common way to distribute video files across various online platforms.
Transcription:
Hi Dave from Oculu. This is the 1st in a series of screen capture video tutorials and this 1st title covers sizing your capture area. The 1st consideration is to avoid scaling. You don’t want your finished video piece to be changed in any way. It should always be displayed at 100% and this is because applications are generally designed with a lot of 1 pixel thick lines dialog boxes text is very thin and very difficult to discern content in big video form.
Currently I’m working from a 24 in. computer screen with a resolution of 1920×1200, which is quite large. I’m making the assumption that most of my end viewers are on smaller displays, maybe a smaller desktop monitor, or a laptop, or a tablet device and its highly unlikely they are going to be able to display a video clip that’s 1200 pixels high.
Just to give you an example I have my 15 in. Mac book connected remotely and that machine has a size of 1440×900. So the recommendation is to conform to a HDTV standard. Currently there are 2 HDTV standards: 1280×720 and 1920×1080. We recommend sticking to 1280×720 for everything again because most laptop computers and desktop displays are below the width of 1920×1080 and this is just your best bet for universal playback with out any scaling.
If you have a large desktop how do you figure out what area is 1280×720?
There are 2 ways.
1) Grab an image that is the desired size of 1280×720. All I am going to do is drag this up the upper left corner. I recommend the upper left corner only because quite often in apps you are going to the menus up there quite often.
Next step: take the app you desire to capture and size it to fit with in the area or template. In this case we are going to use the browser window and just size it up accordingly. Now if you want to accommodate for 1 I have this preview eating up some vertical height and I also want to be able to capture the menu area so I am going to size this and bring up the bottom a little bit to compensate for that, knowing that I’m going to chop the frame down here and take it all the way up to the screen.
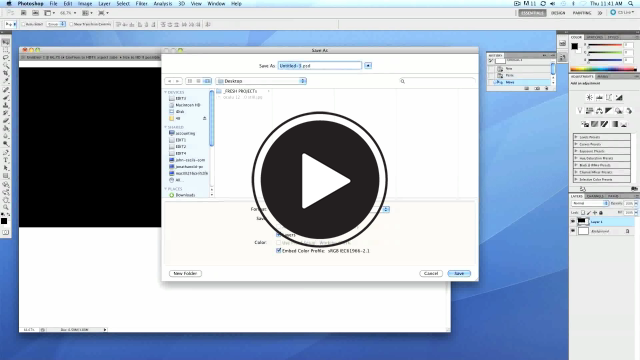
2) This is a little more complicated but more precision and that’s to create a desktop wallpaper that’s got some markings so that you know what your actives capture area is and I’m going to do some Photoshop by creating a new document.
I’m going to make 2 documents, the 1st 1280×720 to represent my capture area and I’m going to color black and then I’ll make a 2nd document which is my actual desktop size which is 1920×1200 and combine the 2 documents together and the black will represent my capture area and again I’m going to move it to the upper left corner.
This time I don’t want to capture the top level menu tools in the app and I want to accommodate for that so I just bump the black area down, eyeballing it a little bit and save this as a jpeg and go into my desktop settings and there it is.
I’ve got my black box to represent the area of the HD video clip the 1280×720 and I can take my app I’m about to capture and position it in that area.
This concludes size and capture area. Thanks for watching.


![Marketing Under the Influence[r]](https://oculu.com/wp-content/uploads/2022/04/marketing-under-influencer.png)
